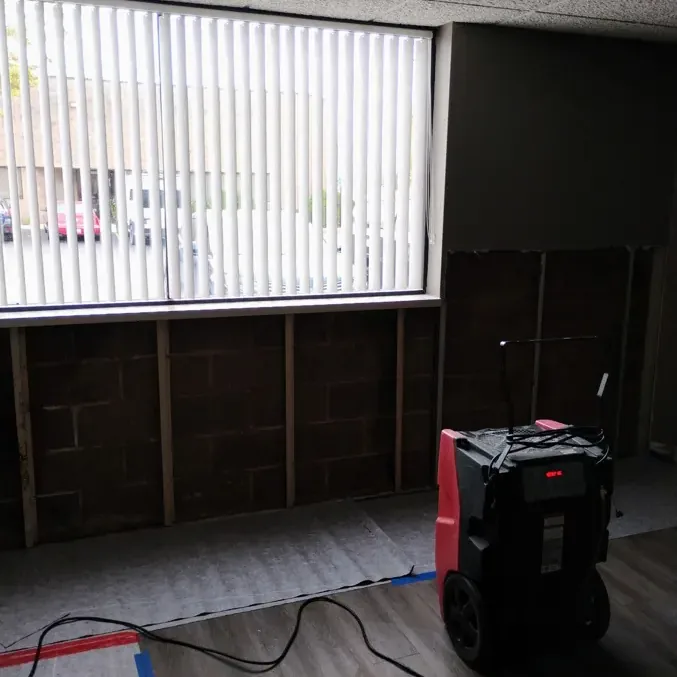
Longview has historic Tudor and craftsman homes, and many historic buildings date from the initial growth period of 1923 to 1934. After a water release, a room inventory helps identify which finishes are wet and how they connect to the structure underneath. The useful question is how each observed assembly can be assessed, dried and handed over for repair with its condition clearly recorded.
Key takeaways
- Identify actual wall and floor materials before deciding where an inspection opening belongs.
- Document decorative trim and previous repairs before equipment or removal work changes the room.
- Treat floor boards, their backing and adjoining wall cavities as separate inspection locations.
- Use repeat measurements at labeled points to assess the response of retained materials.
- Keep the drying record and the plan for matching replacement finishes together for the repair handoff.
Make an inventory of finishes before opening a wall
The Longview Civic Center Historic District is among the city's recognized historic settings. Within an individual building, the initial survey can record visible plaster, wallboard, paneling, wood trim and later patches so the proposed work relates to the materials actually present in each affected room.
Photographs should include the junctions that make repair difficult to match, such as a trim profile beside a patched wall or the transition between adjacent floor finishes. A wider image shows how those details fit together and where the water reached them during the loss.
The structural drying assessment can use that inventory to choose measurement points and access locations. The owner then receives a room description specific enough to discuss preservation priorities while the technician determines which materials can remain and how their moisture response will be checked.
- List finishes by room and wall rather than calling the entire house an older interior.
- Photograph decorative profiles before trim is detached for access.
- Mark visible repairs and transitions where construction changes.
- Ask what information each proposed opening is intended to reveal.
Follow water through the floor assembly
A wood surface can show changes in shape or appearance while the extent beneath it remains unclear. The technician should inspect joints, perimeter edges and accessible transitions, then relate those observations to the backing and any lower space that can be reached safely.
Standing liquid should be addressed before the floor is expected to dry through equipment operation alone. Water extraction can recover accessible water, after which the exposed surfaces and retained floor layers can be assessed for continued drying or selective removal based on their condition.
Furniture placement and fixed cabinets may complicate the inspection. A diagram that marks those obstructions helps explain why a measurement was taken at a particular edge and why another area still requires access, keeping an unexamined section from disappearing inside a roomwide description.
- Note changes in board shape and their position relative to the original release.
- Check adjoining finishes where water may have continued beneath a threshold.
- Record the floor layers visible at existing openings or transitions.
- Keep inaccessible areas on the work list until their condition can be assessed.
Assess plaster together with its support and cavity
A wall inspection needs to consider the finish, its attachment and the space behind it. Cracks, looseness or staining should be described at their specific locations, with attention to whether water entered from above, collected at the base or crossed from an adjoining room.
A retained surface needs a practical route for assessment and drying. Where concealed materials cannot be evaluated from the room, selective access may help reveal the backing, insulation or framing, and photographs should capture the newly visible assembly before further work changes it.
Overhead areas require particular care when a finish is loose or changing shape. The ceiling leak assessment should determine safe access and the affected layers before occupants or helpers stand beneath the area to inspect decorative details or move nearby possessions.
- Describe attachment and visible condition separately from moisture measurements.
- Include the opposite side of an affected wall when it is accessible.
- Photograph exposed cavity layers in the order they become visible.
- Keep people clear of overhead finishes that need a safety assessment.
Label trim and hardware when access requires removal
Trim removed for inspection can be difficult to match to its original position later. A simple room and location label helps the repair contractor understand where each piece belonged, while a photograph before removal preserves how corners, joints and adjacent finishes were arranged.
Retention depends on the condition and suitability of the piece after water exposure. The owner can identify finishes with particular importance, and the crew can explain which items are being held for assessment, which can be reused and which need replacement as the work progresses.
Storage should protect the unaffected pieces and keep the work area navigable. Small hardware and matching components can be grouped with their room record so a later repair does not depend on recognizing an unlabeled item that has been moved several times during drying.
- Use room names and positions that will remain understandable after equipment is removed.
- Keep photographs of joints and trim profiles with the labeled pieces.
- Separate items awaiting a decision from those already designated for disposal.
- Record any replacement need early enough for the owner to discuss matching options.
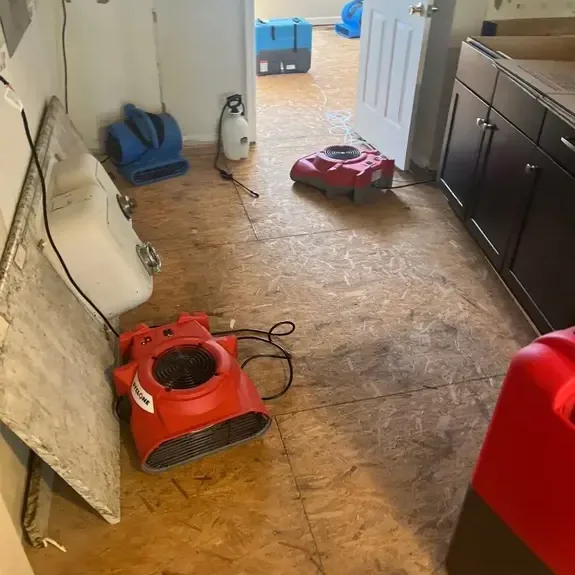
Read the drying record by material and location
A room can contain materials that respond differently to the same drying arrangement. The work record should identify the surface or assembly being measured, the instrument setting and the location, allowing later readings to be compared with the earlier result at that same point.
When a location remains elevated, the next decision should consider access, airflow and the material condition. A useful progress note explains what changed in the setup and why, instead of replacing the original measurement location with an easier spot elsewhere in the room.
The owner can ask which retained assembly is controlling the remaining work. A specific answer about a floor edge, wall cavity or backing layer makes the schedule discussion more useful than a general statement about the age of the house or the number of devices operating inside it.
Separate the drying endpoint from finish restoration
The drying file should show where retained materials were checked and what decisions were made about removal. Finish restoration then uses that record alongside photographs of profiles, patterns and room transitions to plan the work that makes the interior complete again.
A repair contractor needs to know which openings remain, what layers were exposed and whether any adjoining area still needs inspection. That information is particularly useful when decorative surfaces span the boundary between affected and unaffected material, since the visible repair may require a wider matching discussion.
The final conversation should identify outstanding tasks plainly, including replacement, reattachment, finishing and any source repair still awaiting completion. The owner can preserve the distinct features of the interior more effectively when every retained or removed component has a clear place in the record.
Questions
Does a historic Longview home need every wet finish removed?
The assessment is made by material and condition. Attachment, contamination, accessible layers and drying response help determine whether a particular finish can remain, with the reason for each decision recorded in the project file.
Why photograph wood trim before it is detached?
The original position, joints and decorative profile may be difficult to reconstruct from loose pieces. Those images give the repair contractor a reference for reassembly or for discussing an appropriate replacement with the owner.
What makes a moisture log useful during repairs?
Each entry should identify the material and repeatable location. That lets the next contractor connect the final result with the exposed assembly instead of receiving an isolated number that cannot be placed in the room.
Can a dry looking floor conceal unfinished work?
The inspection may still need access beneath a covering or beside a fixed cabinet. The completion discussion should identify those concealed locations and explain how their condition was assessed before a replacement finish is scheduled.